index

Completed project shown. Hardware and tools are sourced separately.

1 / 3 / 5 kgChamber designs
StackableBuild around your spools
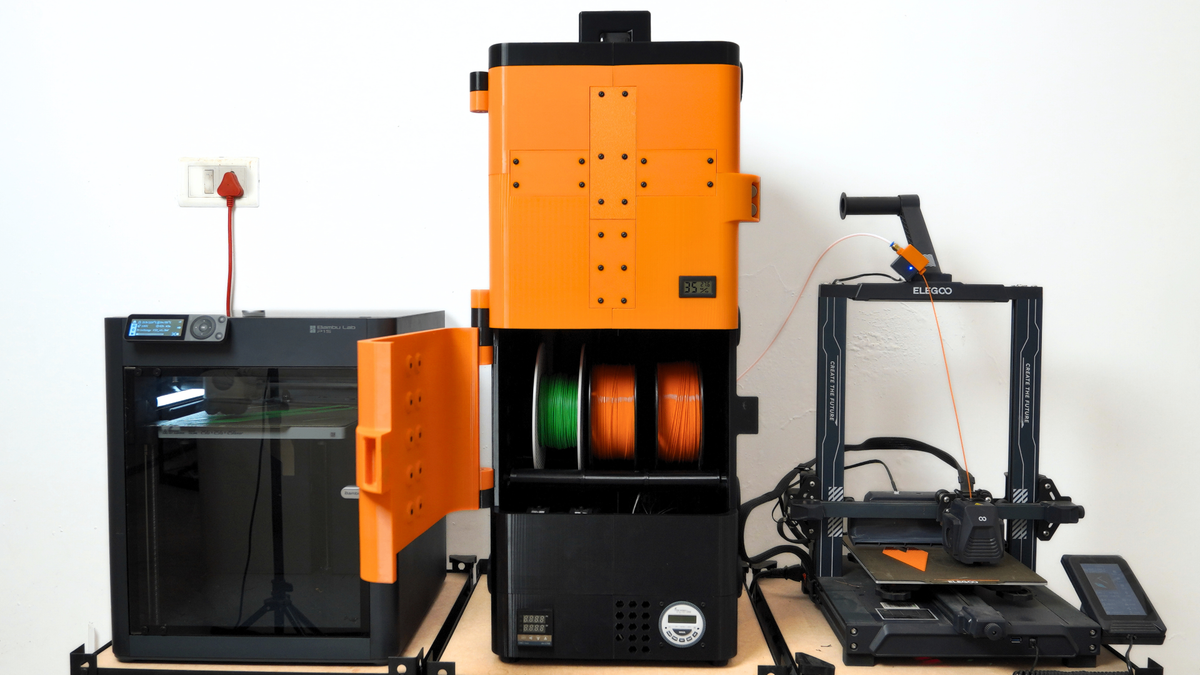
Direct feedPrint while drying

Digital DIY project · Dry, store and print

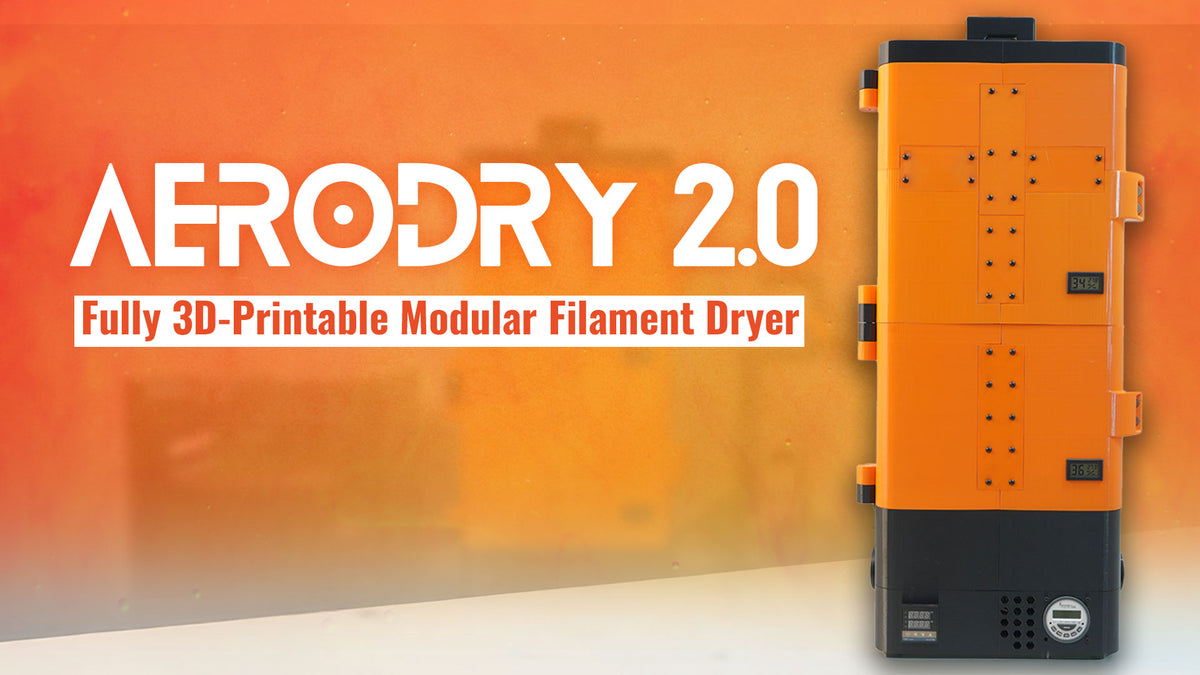
AeroDry 2.0

Kickstarter684 Kickstarter backers ↗

Build a better home for your filament.

A modular filament dryer you can print and assemble yourself. Choose the chamber sizes for your spools, add controlled heating and airflow, and feed filament straight to your printer.

$39.00 USD

STL files + build guides. You print and assemble it.

Choose your license

Digital download only. Filament, hardware and tools are not included.

A digital build pack for the dryer base and 1 kg, 3 kg and 5 kg chamber designs, with printing, assembly and wiring guidance.

In the download ↓

Is this your next project?

Start with the chamber your spools need.

AeroDry is for makers who want a buildable, expandable filament-care setup. The heated base, blower system, chamber doors and spool supports are designed as a modular assembly.

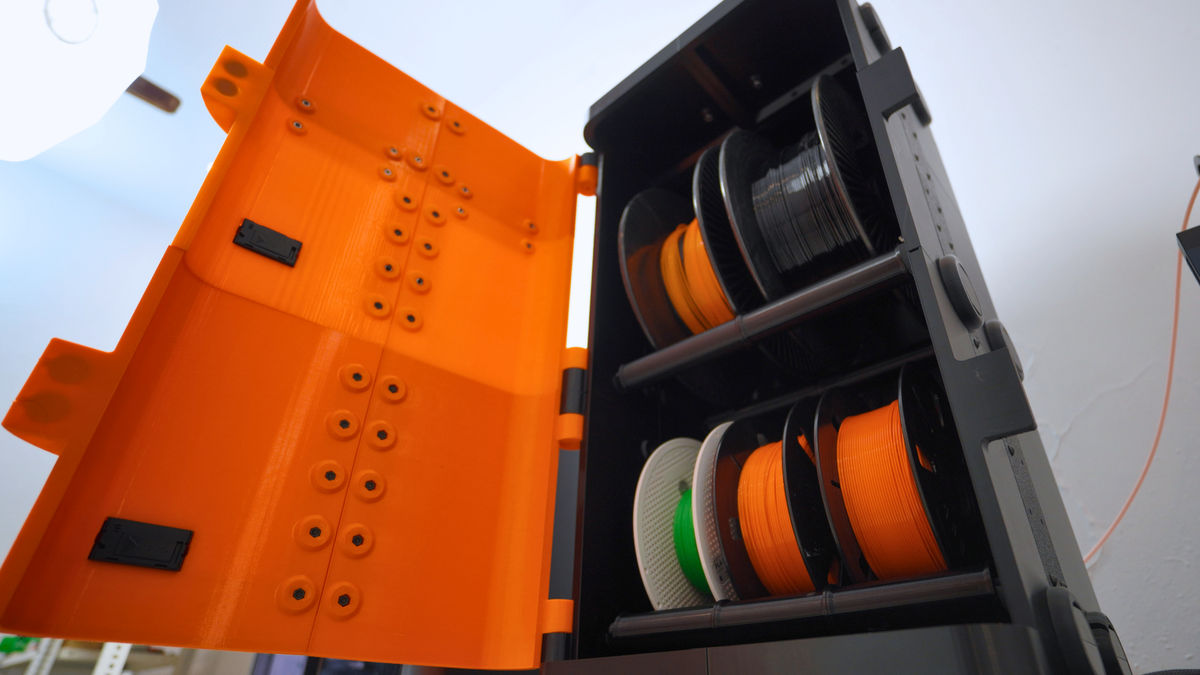
AeroDry 2.0 open view

AeroDry 2.0 / A closer look

A chamber for the way you print.

Choose from the supplied chamber designs, use the spool supports and route filament through the feed outlets. Magnetic doors make it easier to change spools.

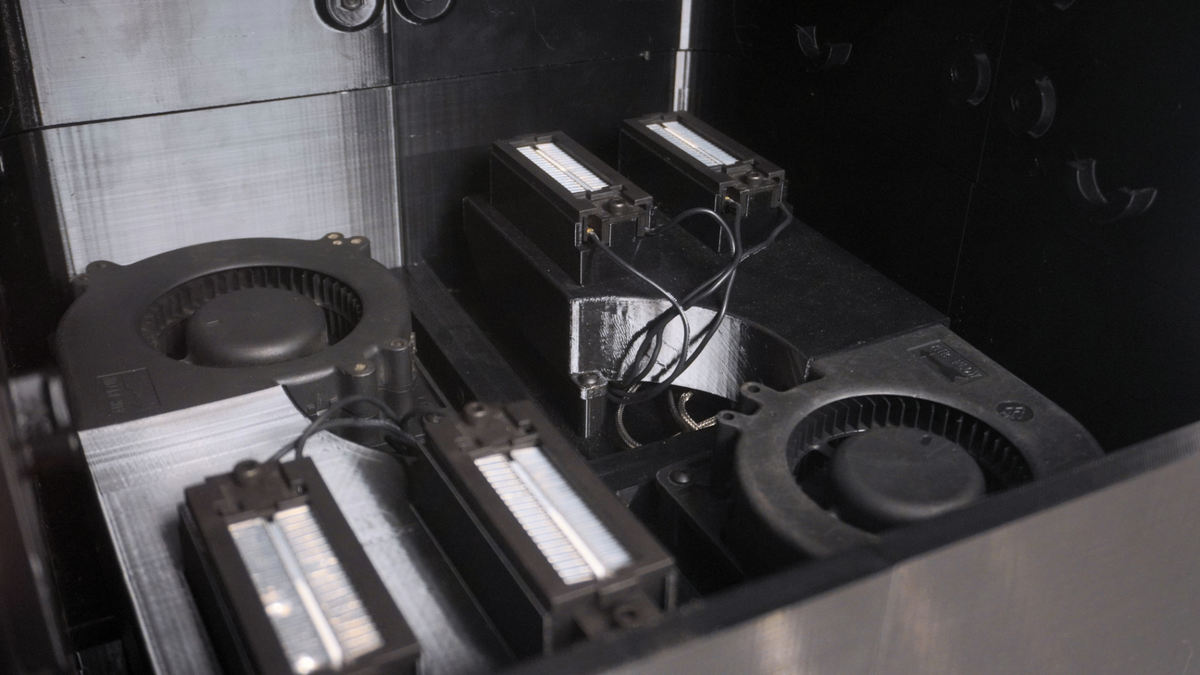
AeroDry 2.0 heaters

AeroDry 2.0 / A closer look

Controlled heat with moving air.

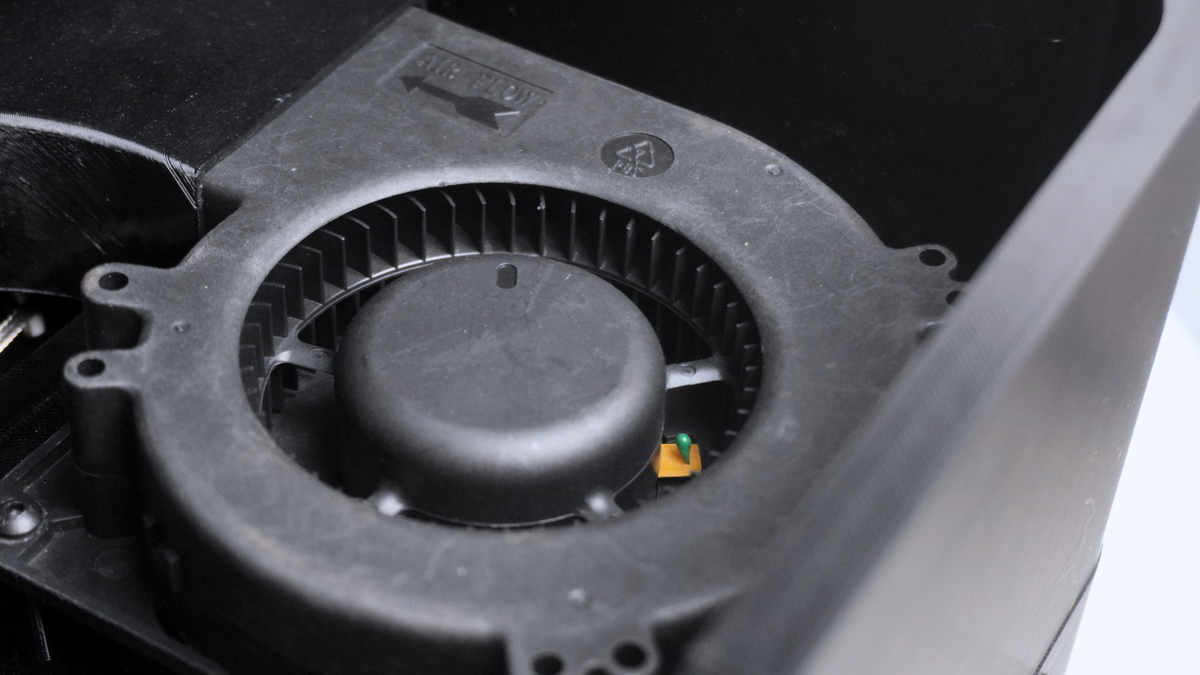
The build combines PTC heaters, centrifugal blower fans, a temperature controller and timer. Follow the wiring and drying guides for the exact hardware configuration.

AeroDry 2.0 display

AeroDry 2.0 / A closer look

Keep an eye on the conditions.

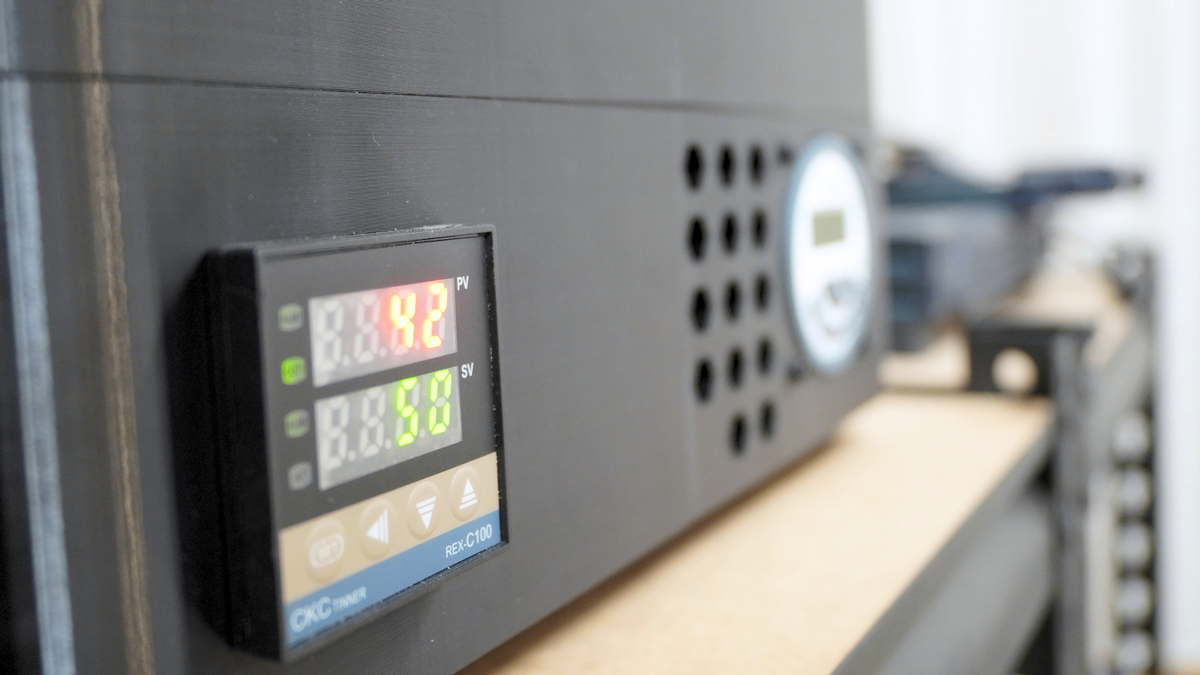
The controls let you set the session, while a chamber hygrometer helps you track the environment. Check the actual chamber temperature as you set up your build.

In the download

The files. The guides. The help to build it.

Both licenses include the project files and build guidance. Choose Commercial when you want permission to sell the physical products you make.

Modular print files

Dryer base and the supplied 1 kg, 3 kg and 5 kg chamber designs.

Assembly guidebook

Guidebook plus videos for the base, chambers and final connections.

Wiring diagrams

The wiring references for the specified heating and control system.

Component list

Hardware specifications, quantities and supplier links.

Printing and drying guides

Material advice, printing guidance and the supplied temperature/settings reference.

Build support

Email help with parts, printing and the assembly process.

Build requirements

Know your build before you begin.

No physical kit is shipped.

Printer
Recommended: 220 × 220 × 250 mm FDM build volume. The tallest supplied 1 kg chamber pieces are about 242.3 mm.
Printed material
Use the heat-resistant materials specified in the guide: PETG, ABS or ASA. Do not print the heated enclosure in PLA.
Starting print settings
At least 3 walls, 40–50% infill for the structural parts, and 0.2–0.28 mm layers, following the printing guide.
Hardware
Heaters, blower fans, temperature control, timer, power supply and the chamber hardware are sourced separately.
Configuration
The filament and hardware quantities change with chamber size and count. Plan the stack before ordering and printing.
Assembly
Mechanical assembly and electrical wiring are required. Check component ratings and temperature limits for your complete build.

From your printer to your workbench.

01

Choose your stack

Plan the chamber sizes and hardware for the spools you use.

02

Print and assemble

Build the base and chambers, then follow the wiring diagrams.

03

Set up your drying routine

Check temperature and airflow, load the spools and route the filament.

Components

Print the structure. Source the rest.

Use the component specifications in your download to choose compatible hardware. Check the exact variant, delivered price and availability before ordering.

Heated base

Four 12 V 50 W PTC heaters and two 120 mm centrifugal blower fans, as listed in the build pack.

Control system

REX-C100 SSR-output temperature controller, the specified SSR and TM619 timer. Match the exact output and voltage variants.

Power and wiring

Specified 12 V power supply, inlet, country-compatible cord, suitable wire and crimp/quick connectors.

Per-chamber hardware

Hygrometer, magnets, foam seal, pneumatic fittings, bearings and spool rods. Quantities depend on your chamber configuration.

Can’t find a component? Email us.

Tell us the project, missing component and your country. We’ll help you find a country-specific link to buy it.

Get sourcing help ↗

Your project, clearly priced.

Digital project · selected license

$39.00 USDPersonal use

Filament for your build

Depends on the number and size of chambers. Slice your selected base and chamber files for an accurate estimate.

Hardware you source

Bought separatelyThe chamber count changes the parts list. Check the controller output, supply voltage and chamber hardware quantities before ordering.

The product price buys the digital project and selected license. Your build cost also depends on filament, hardware, shipping and local taxes.

Choose your license

Make it for yourself. Or build to sell.

The same project, with the rights that fit your plans.

Personal use

$39.00 USD

Build for your own use.

Commercial license

$79.00 USD

Build and sell physical products under the supplied agreement.

Neither license allows selling, sharing or redistributing the digital files. Commercial use follows the supplied license agreement.

Before you start

Useful answers for your build.

Are all three chamber sizes included?

The digital project includes the supplied 1 kg, 3 kg and 5 kg chamber designs. Print the configuration you need and source its matching hardware.

Can I print it in PLA?

No. The printing guide specifies heat-resistant materials for the heated enclosure. Select the material for the operating temperatures of your complete build.

Can I print while filament is drying?

Yes. The design includes filament feed outlets so you can route filament from a chamber to your printer.

What temperature should I use?

Use the supplied drying guide together with your filament manufacturer’s advice. Check the actual chamber temperature and stay within the limits of the printed enclosure and electrical components; the heater reading is not the same as chamber air temperature.

Is every chamber the same cost?

No. Chamber size, count, filament settings and supplier prices affect the build cost. The price above is for the digital license.

Build and operating notes

Use the specified temperature-control system and follow the wiring guide. Monitor setup runs and keep operation within the limits of the printed material and all electrical components.