index

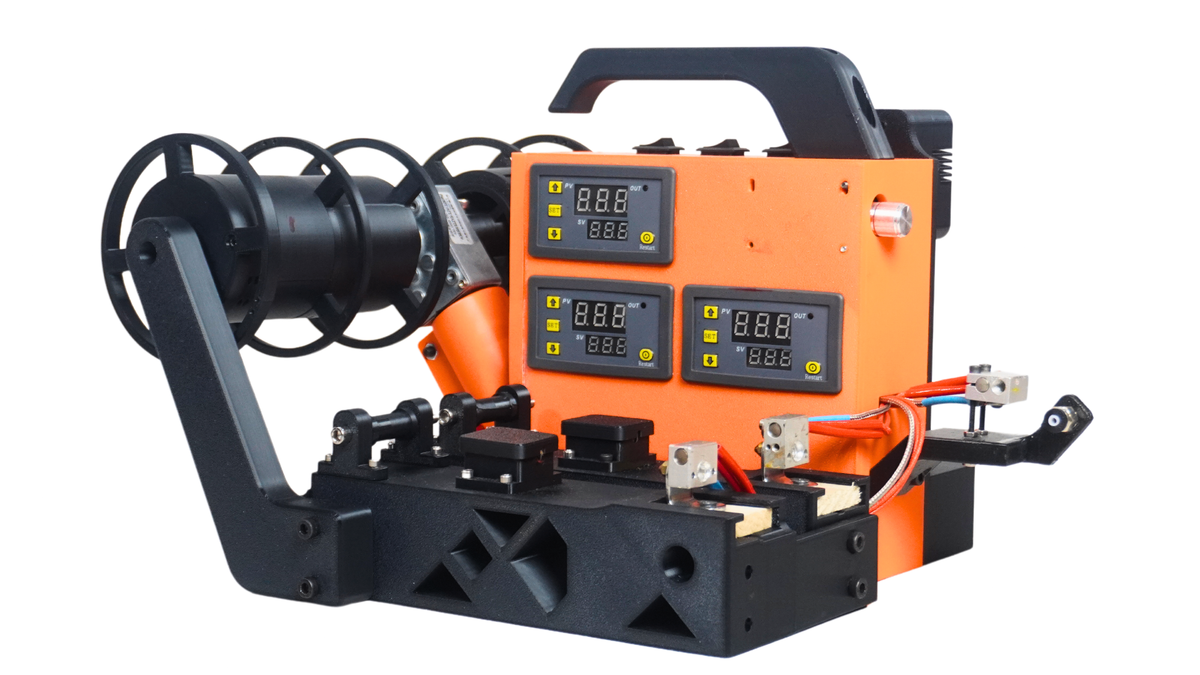
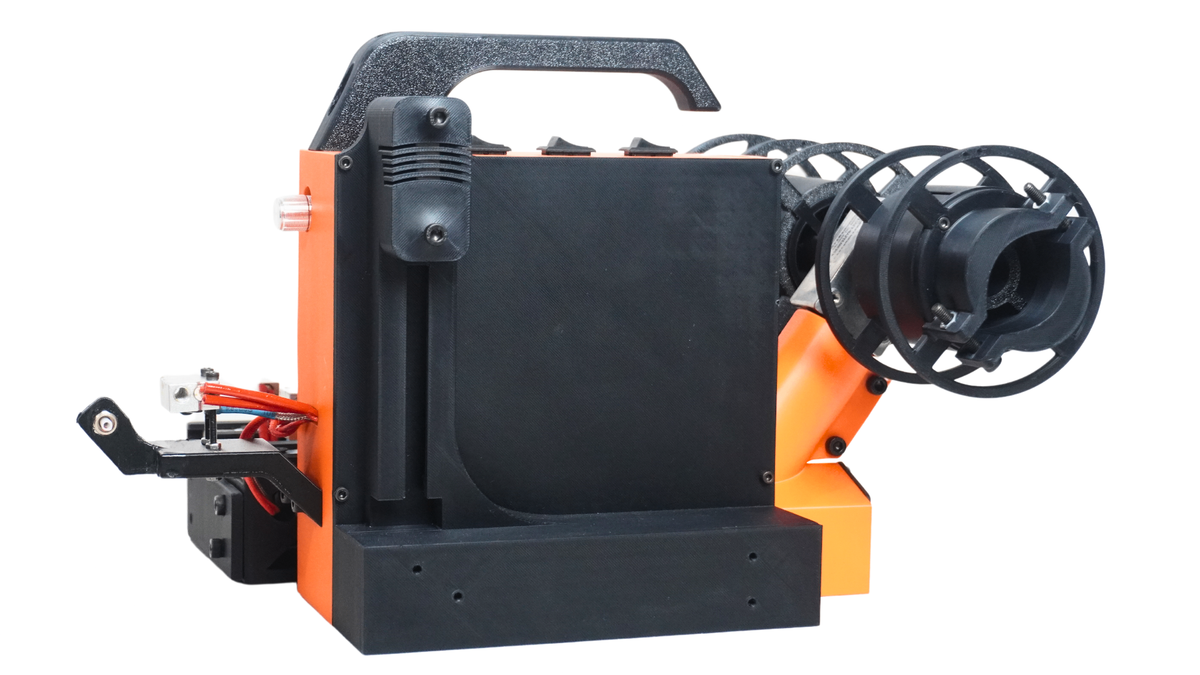
Completed project shown. Hardware and tools are sourced separately.

PET bottlesPrepared bottle strips
4 functionsCut · form · colour · weld
DIY buildPrint and assemble

Digital DIY project · Bottle to filament

PETFusion 2.0

Kickstarter850 Kickstarter backers ↗

Give your next bottle a second life.

Build your own PET bottle-to-filament machine. Cut bottle strips, form filament, add colour and join strands with one compact workshop project.

$39.00 USD

STL files + build guides. You print and assemble it.

Choose your license

Digital download only. Filament, hardware and tools are not included.

A digital build pack for a machine you print and assemble. Includes the component list, wiring guidance and assembly tutorials.

In the download ↓

Is this your next project?

For makers who want to work with bottle PET.

PETFusion works with prepared PET bottle strips. Choose it if you want a bottle-based recycling project with a cutter, powered spool and a separate welding function. It does not grind failed prints into feedstock.

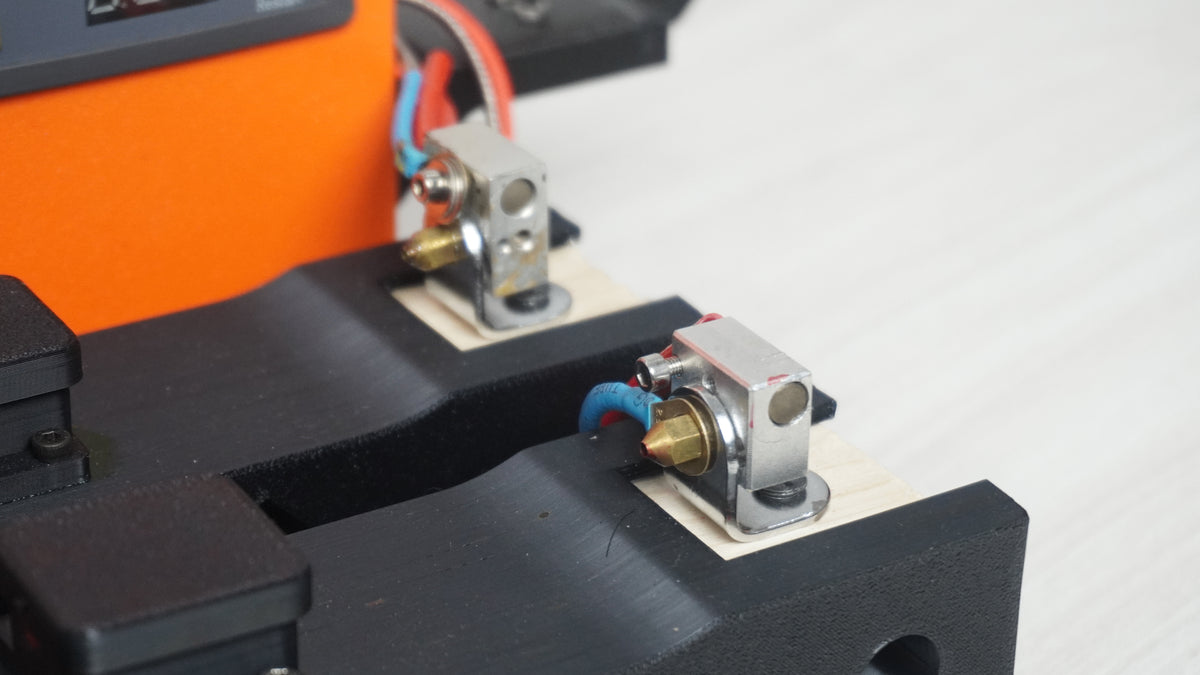
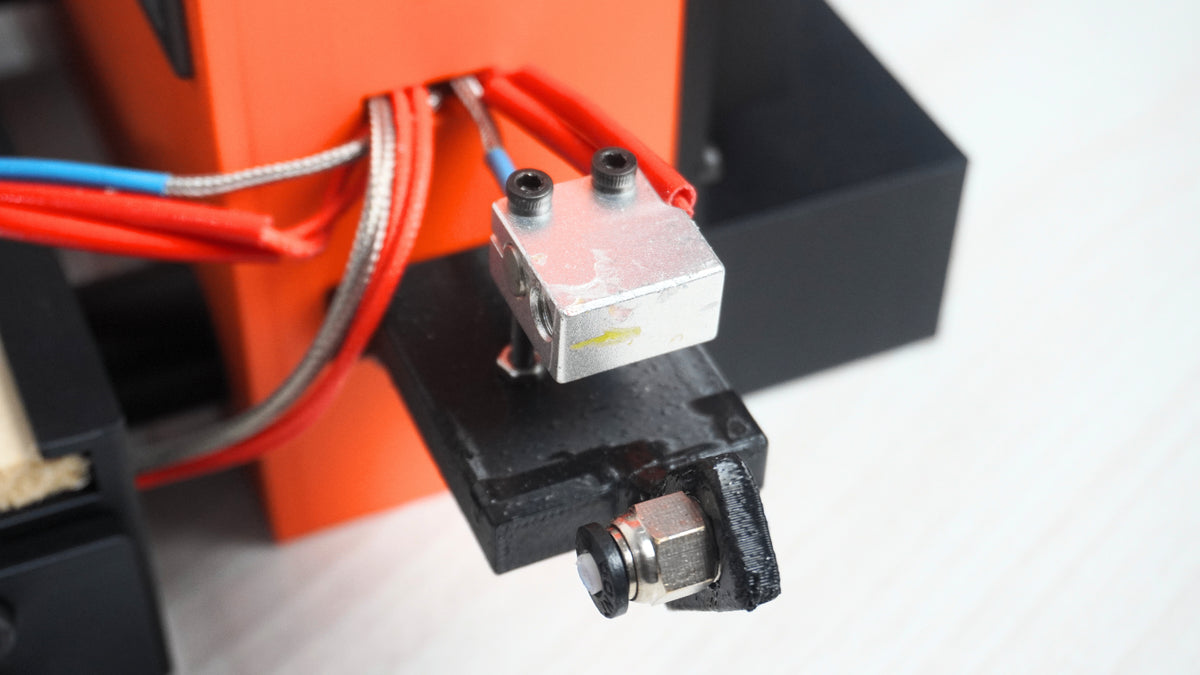
PETFusion 2.0 hotends

PETFusion 2.0 / A closer look

A connected bottle-to-filament workflow.

Prepare a suitable PET bottle, cut a consistent strip and guide it through the heated forming path. Set the pull speed to suit the strip and tune the output as you go.

PETFusion 2.0 welder

PETFusion 2.0 / A closer look

Join strands with the filament welder.

The included welder module lets you join PET filament ends. Follow the guide for preparation, alignment and finishing before feeding joined filament into a printer.

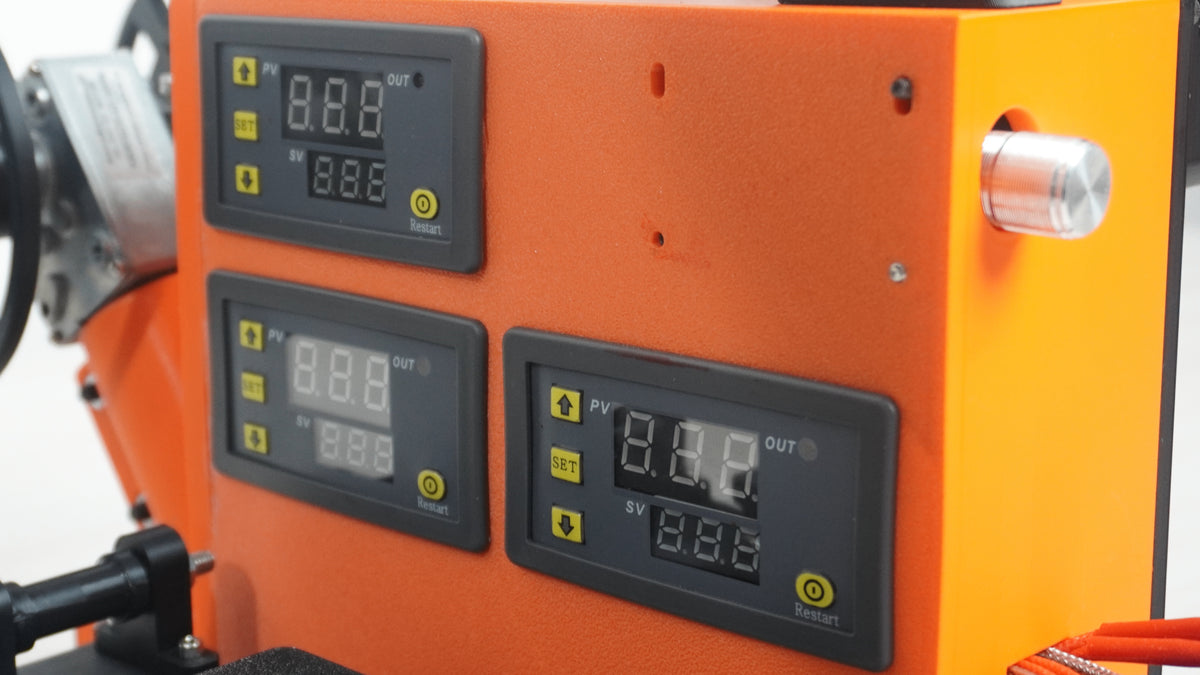
PETFusion 2.0 display

PETFusion 2.0 / A closer look

Keep the controls within reach.

The temperature controls and motor-speed adjustment sit on the machine. The colourizer is part of the build, so you can experiment with the look of your output.

In the download

The files. The guides. The help to build it.

Both licenses include the project files and build guidance. Choose Commercial when you want permission to sell the physical products you make.

Print files

STLs for the frame, cutter, spools, colourizer and filament-welder parts.

Assembly walkthrough

Assembly guide plus step-by-step assembly and operation videos.

Wiring guidance

Visual and schematic wiring diagrams for the electrical build.

Component list

The non-printed parts list with supplier links and variant information.

Printing and use notes

Part-specific material advice, nozzle preparation and operating tips.

Build support

Email help with printing, components and assembly.

Build requirements

Know your build before you begin.

No physical kit is shipped.

Printer
Recommended: 220 × 220 × 250 mm FDM build volume. Supplied STL bounds reach about 209 × 182 mm across the bed; check orientation and brim clearance.
Printed material
The build guide uses PLA for cool structural parts and ABS for the filament-welder hotend holder. Follow the part-specific material instructions.
Starting print settings
0.2–0.3 mm layers, 3 walls and 30–40% infill, with supports where needed.
Tools and preparation
Basic assembly and crimping tools. The guide includes nozzle drilling and widening the inlet—check those steps before ordering your parts.
Feedstock
Prepared PET bottles. Clean the material and tune strip width, heat and pulling speed to suit the bottle.
Assembly
Mechanical assembly and electrical wiring are required. Read the wiring diagram and operating notes before use.

From your printer to your workbench.

01

Prepare the bottle

Start with suitable PET, remove labels and prepare the strip.

02

Form the filament

Heat the forming path and tune the motor speed for steady pulling.

03

Finish your spool

Use the colourizer and welder as needed, then check the output before printing.

Components

Print the structure. Source the rest.

Use the component specifications in your download to choose compatible hardware. Check the exact variant, delivered price and availability before ordering.

Heating and control

Three temperature controllers and heaters; MK8 and Volcano heating blocks. Match the component variants in the BOM.

Motion and pulling

12 V dual-shaft worm-gear motor, speed controller, spool hardware and bearings.

Power and wiring

Specified 12 V supply, country-compatible mains lead, inlet, switches, wire and connectors.

Finishing pieces

Blade, nozzles, PTFE tube, coupling, fasteners and the small wooden heat-isolation pieces listed in the guide.

Can’t find a component? Email us.

Tell us the project, missing component and your country. We’ll help you find a country-specific link to buy it.

Get sourcing help ↗

Your project, clearly priced.

Digital project · selected license

$39.00 USD Personal use

Filament for your build

Depends on your print settings and quantity of spools. Slice the supplied files for your material estimate.

Hardware you source

Bought separatelyOrder the specification and variant in the parts list. Prices and shipping depend on the supplier and destination.

The product price buys the digital project and selected license. Your build cost also depends on filament, hardware, shipping and local taxes.

Choose your license

Make it for yourself. Or build to sell.

The same project, with the rights that fit your plans.

Personal use

$39.00 USD

Build for your own use.

Commercial license

$89.00 USD

Build and sell physical products under the supplied agreement.

Neither license allows selling, sharing or redistributing the digital files. Commercial use follows the supplied license agreement.

Before you start

Useful answers for your build.

Am I buying a finished machine?

No. PETFusion 2.0 is the digital DIY project. You receive files and guides, then print the parts, source the hardware and assemble it yourself. No machine or hardware is shipped.

Can it recycle failed prints?

This project is designed around PET bottle strips. For shredded print waste or pellets, see ExtrudeX.

Is it ready to run straight after printing?

You also need to source the hardware, prepare the nozzle as shown in the guide, assemble the machine, wire it and tune the process.

Does it weld filament automatically?

The welder is a separate function you operate as described in the guide. Check and finish a joint before using the resulting filament.

Build and operating notes

Heated components, a cutting blade, moving parts and electrical wiring are part of this build. Follow the supplied assembly and operating instructions and monitor the machine while it runs.