index

Completed project shown. Hardware and tools are sourced separately.

220 mmMinimum printer bed
0.84 kgGuide estimate for printed parts
Single screwControlled extrusion

Digital DIY project · Print waste to filament

ExtrudeX

Kickstarter2,827 Kickstarter backers ↗

Give failed prints another purpose.

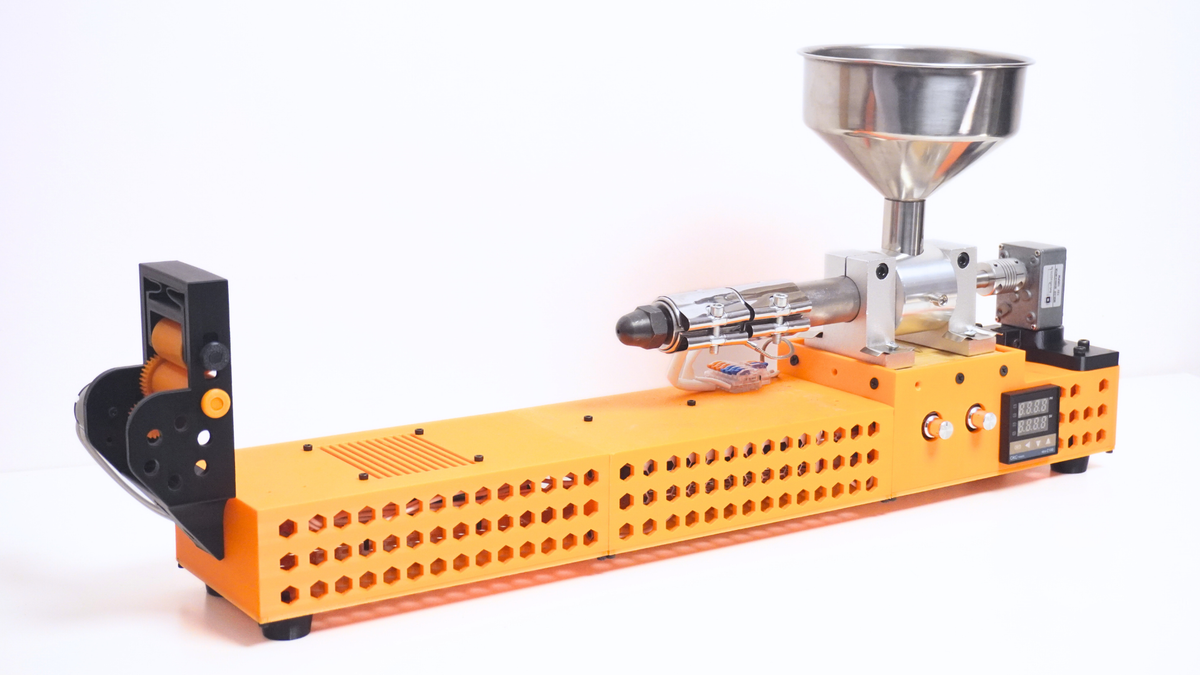
Build a compact single-screw extruder for clean, dry shredded print waste or pellets. Print the structure, source the hardware and learn to tune your own filament.

$59.00 USD

STL files + build guides. You print and assemble it.

Choose your license

Digital download only. Filament, hardware and tools are not included.

A digital build pack with STL files, assembly tutorials, a component list, wiring guidance and operating notes.

In the download ↓

Is this your next project?

For makers ready to prepare and tune their material.

ExtrudeX is an extrusion project. You prepare the feedstock separately, keep each batch to one polymer, dry it and adjust heat, feed rate, pulling and cooling. The guide helps you work toward consistent output.

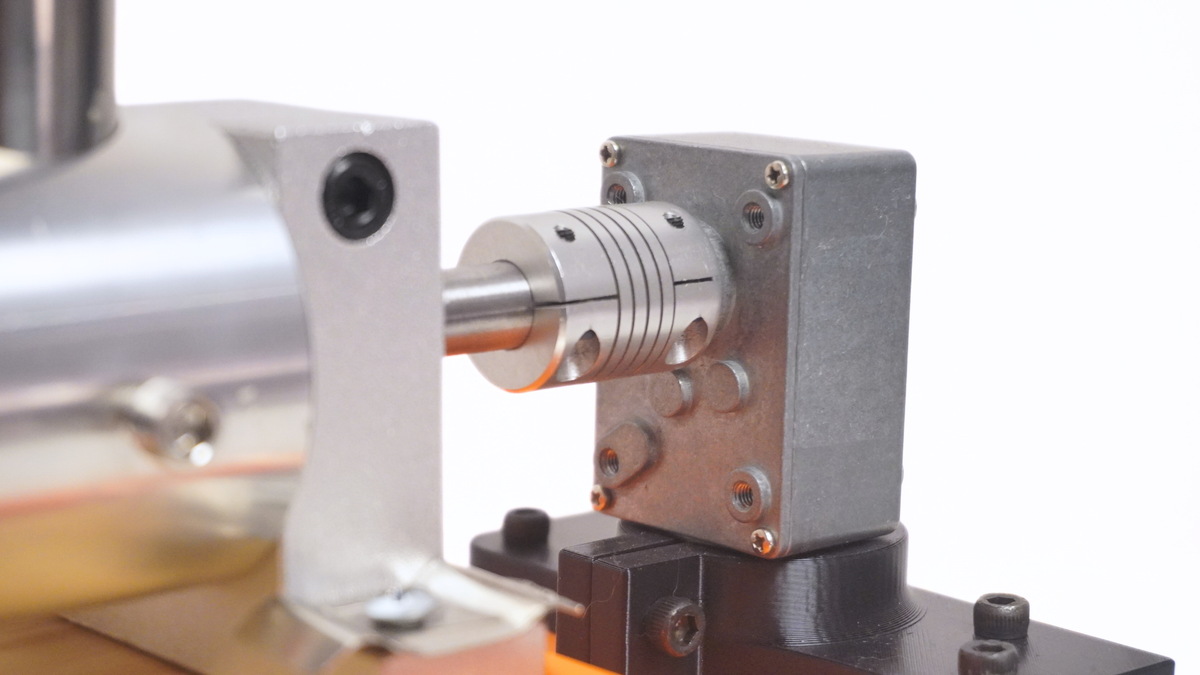
ExtrudeX Motor Assembly

ExtrudeX / A closer look

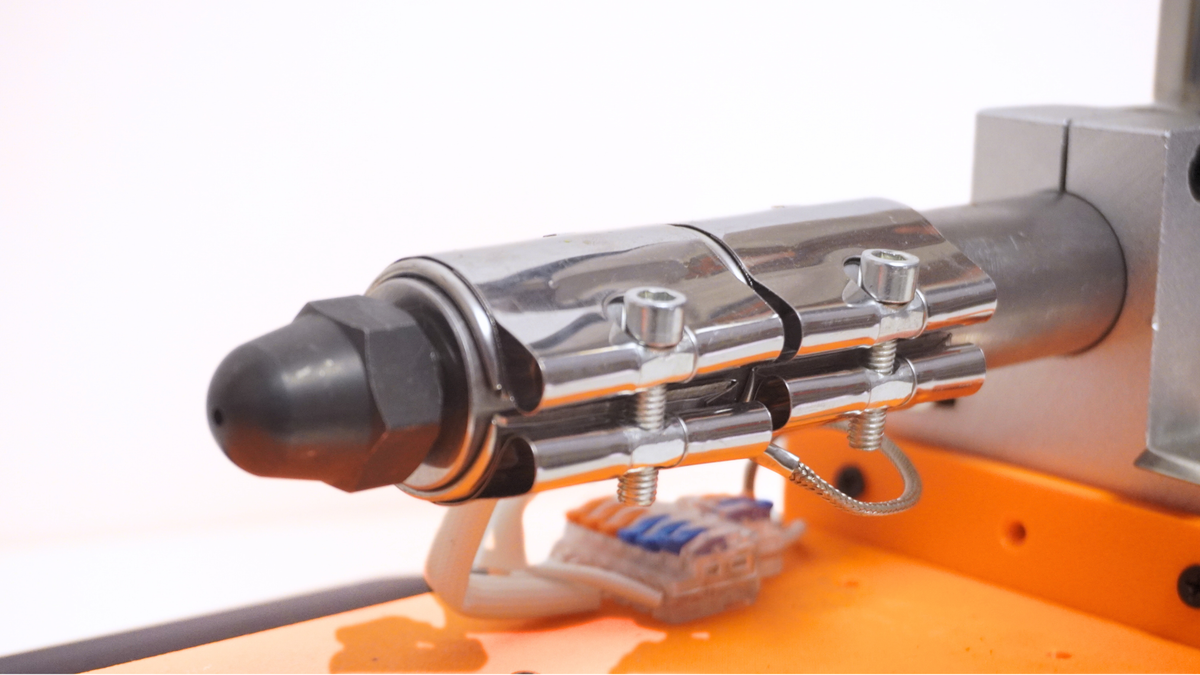
A metal auger at the heart of the build.

The sourced single-screw barrel and two band heaters handle extrusion. Your printed frame brings the motor, controls, cooling and puller together around them.

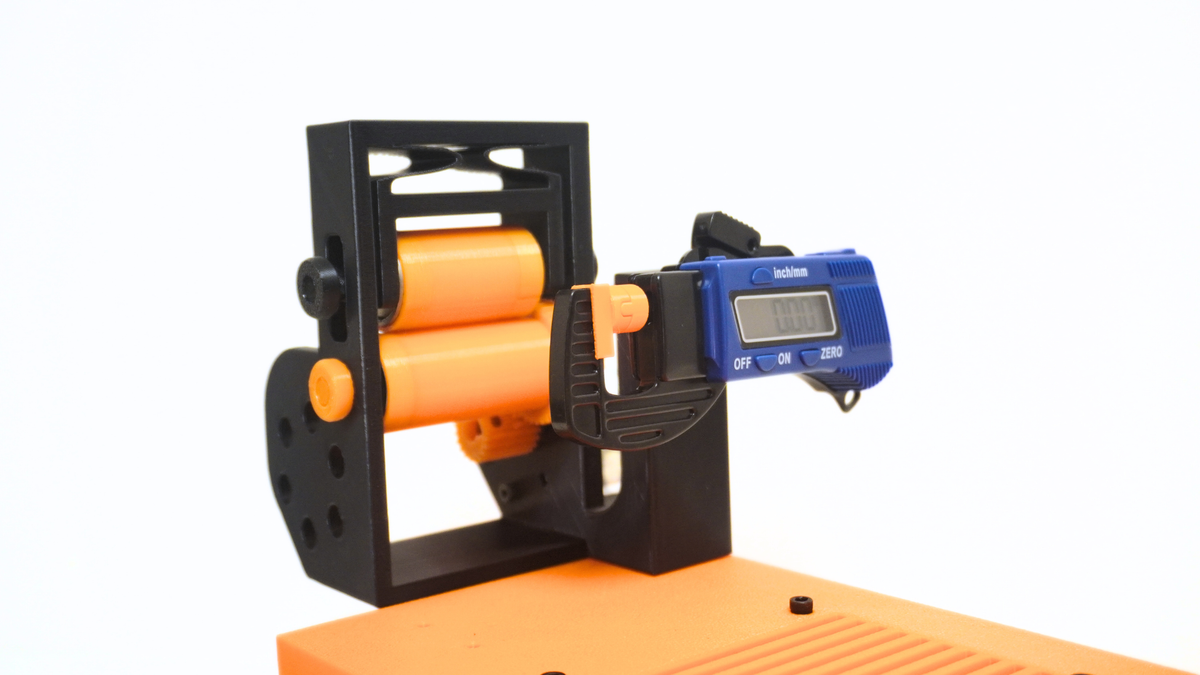
ExtrudeX Puller with Digital Gauge

ExtrudeX / A closer look

Tune the strand as it leaves the nozzle.

The controlled puller and cooling path let you adjust output. Use the diameter gauge as you tune—change one setting at a time and give the process time to settle.

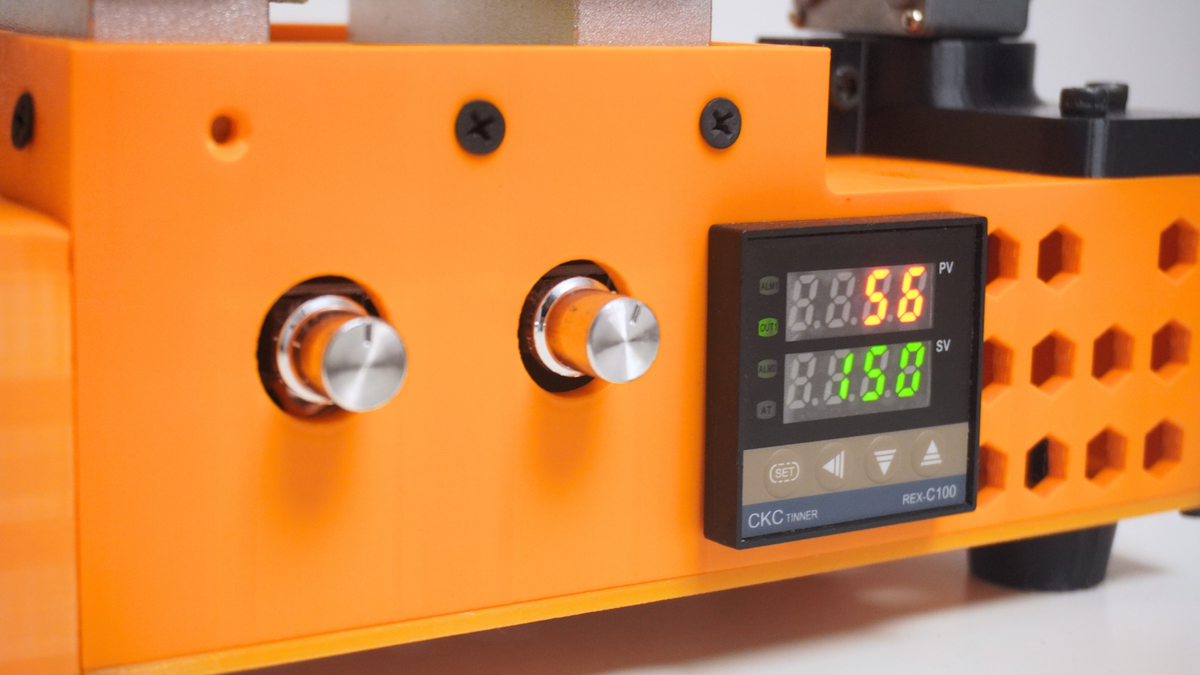
ExtrudeX Temperature Display

ExtrudeX / A closer look

Choose the material. Learn the process.

Use clean, dry shredded waste, matching pellets or a blend. Keep different polymers separate; feedstock preparation is a key part of making usable filament.

In the download

The files. The guides. The help to build it.

Both licenses include the project files and build guidance. Choose Commercial when you want permission to sell the physical products you make.

Print files

The printable machine parts, plus filament-winder STL files supplied in the package.

Assembly tutorials

Assembly manual and video walkthrough for the machine.

Wiring guidance

Electrical wiring diagrams for the specified component setup.

Component list

BOM with specifications and supplier links for the non-printed hardware.

Printing and operating guides

Orientation advice, material preparation and diameter-tuning guidance.

Build support

Email help with sourcing, printing, assembly and operation.

Build requirements

Know your build before you begin.

No physical kit is shipped.

Printer
Minimum 220 × 220 mm bed. A 220 × 220 × 250 mm printer is a practical choice; orient the parts as shown in the printing guide.
Largest part
Beam 2 is about 218 × 120 × 58 mm. Leave room for any brim and check your printer’s usable area.
Printed material
PETG or ABS for the build. The guide permits PLA only on parts away from the heated end.
Filament estimate
About 0.84 kg at the guide’s 2 walls and 15% infill. Supports, reprints and stronger settings increase usage; slice your setup first.
Print settings
The guide starts at 0.2 mm layers. Follow its part-specific orientations; several beams need rotating before slicing.
Tools and preparation
Hand tools, wiring/crimping tools, dry sorted feedstock and a separate way to shred waste. Plan how you will collect or wind the filament.

From your printer to your workbench.

01

Sort, shred and dry

Prepare clean, consistently sized feedstock. One polymer per batch.

02

Heat and feed

Let the barrel temperature stabilise, then begin feeding at low speed.

03

Pull, cool and measure

Tune the strand, check diameter and collect or wind the output.

Components

Print the structure. Source the rest.

Use the component specifications in your download to choose compatible hardware. Check the exact variant, delivered price and availability before ordering.

Extruder assembly

Single-screw extruder with 16 mm screw diameter and 280 mm screw length. Match the mounting dimensions, nozzle and two-heater arrangement.

Drive and pulling

12 V worm-gear drive motor, puller motor, speed controllers, coupling and bearings.

Heating and control

REX-C100 SSR-output controller, matching SSR, thermocouple and the specified band heaters.

Power and finishing

Specified 12 V supply, cooling fan, wiring, connectors, gauge, fasteners and wooden isolation base.

Can’t find a component? Email us.

Tell us the project, missing component and your country. We’ll help you find a country-specific link to buy it.

Get sourcing help ↗

Your project, clearly priced.

Digital project · selected license

$59.00 USDPersonal use

Filament for your build

Guide estimate: 0.84 kg for printed parts at 2 walls / 15% infill. Your slicer settings, supports and reprints change the total.

Hardware you source

Bought separatelyMatch the auger, barrel, heater and mounting specifications before buying. The lowest listing price is only useful when the exact variant fits.

The product price buys the digital project and selected license. Your build cost also depends on filament, hardware, shipping and local taxes.

Choose your license

Make it for yourself. Or build to sell.

The same project, with the rights that fit your plans.

Personal use

$59.00 USD

Build for your own use.

Commercial license

$129.00 USD

Build and sell physical products under the supplied agreement.

Neither license allows selling, sharing or redistributing the digital files. Commercial use follows the supplied license agreement.

Before you start

Useful answers for your build.

Does ExtrudeX shred the waste too?

No. Prepare the waste with a separate shredder or grinder before loading it. The machine performs extrusion, cooling and pulling.

Can I mix PLA and PETG?

Keep each batch to one polymer. The guide allows colours of the same material to be mixed; mixing different polymers can cause clogs and weak, inconsistent filament.

Can I use 100% scrap?

The operating guide supports clean, dry scrap, pellets or a blend of matching material. The condition and consistency of the feedstock affect the result.

Does the machine wind the filament automatically?

There is no built-in take-up reel. The package includes filament-winder STL files, or you can use a separate compatible winding setup.

What will the hardware cost?

Supplier prices and shipping change, so the digital license price is shown separately. Use the BOM specifications and check the delivered prices of the parts you choose.

Build and operating notes

This build has a hot barrel, motor-driven auger and electrical wiring. Keep hands clear of moving parts, follow the operating guide, provide appropriate ventilation and do not leave it running unattended.